OpenMediaVault 5 is pretty awesome, but the LetsEncrypt extra plugin is not available as of this writing. So, what do you do if you want to run OpenMediaVault on a local box and still have a valid SSL Certificate that won’t cause your browser to freak out? Let’s find out!
- Install and Configure dnsmasq
- Install LetsEncrypt(certbot) and Generate SSL
- Import LetsEncrypt Certificate To OpenMediaVault
- Create LetsEncrypt Auto-Renew Cron
- Enable SSL General Settings In OMV WebUI
That looks daunting, but it’s not bad. Let’s get started.
Install and Configure dnsmasq
.:: Install dnsmasq, and few other useful things. ::.
apt-get install -y dnsmasq net-tools vim
Output:
root@omv:~# apt-get install dnsmasq net-tools
● dnsmasq.service - dnsmasq - A lightweight DHCP and caching DNS server
   Loaded: loaded (/lib/systemd/system/dnsmasq.service; enabled; vendor preset: enabled)
   Active: failed (Result: exit-code) since Thu 2020-09-10 23:08:48 EDT; 46min ago

Sep 10 23:08:48 omv.home.example.com systemd[1]: Starting dnsmasq - A lightweight DHCP and caching DNS server...
Sep 10 23:08:48 omv.home.example.com dnsmasq[11007]: dnsmasq: syntax check OK.
Sep 10 23:08:48 omv.home.example.com dnsmasq[11008]: dnsmasq: failed to create listening socket for port 53: Address already in use
Sep 10 23:08:48 omv.home.example.com systemd[1]: dnsmasq.service: Control process exited, code=exited, status=2/INVALIDARGUMENT
Sep 10 23:08:48 omv.home.example.com dnsmasq[11008]: failed to create listening socket for port 53: Address already in use
Sep 10 23:08:48 omv.home.example.com systemd[1]: dnsmasq.service: Failed with result 'exit-code'.
Sep 10 23:08:48 omv.home.example.com dnsmasq[11008]: FAILED to start up
Sep 10 23:08:48 omv.home.example.com systemd[1]: Failed to start dnsmasq - A lightweight DHCP and caching DNS server.
You’ll notice the service failed to start, let’s fix that.
.:: Edit /etc/dnsmasq.conf ::.
vim /etc/dnsmasq.conf
Add the following lines at the end of the file.
address=/omv.home.example.com/10.0.0.220 # OMV IP, mine's static @ 10.0.0.220
resolv-file=/etc/resolv.conf # may differ on your system. Should contain ISP or public nameservers
listen-address=10.0.0.220
listen-address=127.0.0.1
bind-interfaces
.:: Check /etc/resolv.conf ::.
root@omv:~# cat /etc/resolv.conf
domain ****.**.comcast.net
search ****.**.comcast.net
nameserver 75.75.75.75
nameserver 75.75.76.76
.:: Restart and Status dnsmasq.service ::.
root@omv:~# systemctl restart dnsmasq.service
root@omv:~# systemctl status dnsmasq.service
Output:
● dnsmasq.service - dnsmasq - A lightweight DHCP and caching DNS server
   Loaded: loaded (/lib/systemd/system/dnsmasq.service; enabled; vendor preset: enabled)
   Active: active (running) since Fri 2020-09-11 03:09:18 EDT; 16s ago
  Process: 19780 ExecStartPre=/usr/sbin/dnsmasq --test (code=exited, status=0/SUCCESS)
  Process: 19781 ExecStart=/etc/init.d/dnsmasq systemd-exec (code=exited, status=0/SUCCESS)
  Process: 19786 ExecStartPost=/etc/init.d/dnsmasq systemd-start-resolvconf (code=exited, status=0/SUCCESS)
 Main PID: 19785 (dnsmasq)
    Tasks: 1 (limit: 4915)
   Memory: 1.4M
   CGroup: /system.slice/dnsmasq.service
           └─19785 /usr/sbin/dnsmasq -x /run/dnsmasq/dnsmasq.pid -u dnsmasq -7 /etc/dnsmasq.d,.dpkg-dist,.dpkg-old,.dpkg-new --local-service

Sep 11 03:09:18 omv.home.example.com systemd[1]: Starting dnsmasq - A lightweight DHCP and caching DNS server...
Sep 11 03:09:18 omv.home.example.com dnsmasq[19780]: dnsmasq: syntax check OK.
Sep 11 03:09:18 omv.home.example.com dnsmasq[19785]: started, version 2.80 cachesize 150
Sep 11 03:09:18 omv.home.example.com dnsmasq[19785]: compile time options: IPv6 GNU-getopt DBus i18n IDN DHCP DHCPv6 no-Lua TFTP conntrack ipset auth DNSSEC loop-detect inotify dumpfile
Sep 11 03:09:18 omv.home.example.com dnsmasq[19785]: reading /etc/resolv.conf
Sep 11 03:09:18 omv.home.example.com dnsmasq[19785]: using nameserver 75.75.75.75#53
Sep 11 03:09:18 omv.home.example.com dnsmasq[19785]: using nameserver 75.75.76.76#53
Sep 11 03:09:18 omv.home.example.com dnsmasq[19785]: read /etc/hosts - 9 addresses
Sep 11 03:09:18 omv.home.example.com systemd[1]: Started dnsmasq - A lightweight DHCP and caching DNS server.
.:: Update DNS On Local Box and Ping ::.
you@devbox:~# ping omv.home.example.com
Output:
PING omv.home.example.com (10.0.0.220): 56 data bytes
64 bytes from 10.0.0.220: icmp_seq=0 ttl=64 time=0.399 ms
64 bytes from 10.0.0.220: icmp_seq=1 ttl=64 time=0.613 ms
^C
--- omv.home.example.com ping statistics ---
2 packets transmitted, 2 packets received, 0.0% packet loss
round-trip min/avg/max/stddev = 0.399/0.506/0.613/0.107 ms
Install LetsEncrypt(certbot) and Generate SSL
.:: Install Certbot and the CloudFlare DNS Plugin ::.
apt-get install certbot python3-certbot-dns-cloudflare
Docs:
- certbot: https://certbot.eff.org/lets-encrypt/debianbuster-other.html
- certbot-dns-cloudflare: https://certbot-dns-cloudflare.readthedocs.io/en/stable/
.:: Create CloudFlare Config ::.
root@omv:~# mkdir -p /root/.cloudflare/
root@omv:~# chmod 0700 /root/.cloudflare/
root@omv:~# cat <<EOF > /root/.cloudflare/cloudflare.ini
# REPLACE WITH YOUR Cloudflare API credentials
dns_cloudflare_email = cloudflare@example.com
dns_cloudflare_api_key = 0123456789abcdef0123456789abcdef01234
EOF
root@omv:~# chmod 0400 /root/.cloudflare/cloudflare.ini
Note: As of this writing the packaged version of python3-cloudflare for Debian 10(buster) is 2.1.0-1 and so we’re using the less than ideal global api key as installing manually is a bit more involved. Feel free to upgrade to at least 2.3.1 and you’ll be able to use the API Token.
.:: Generate New SSL Certificate Using LetsEncrypt (certbot) ::.
root@omv:~# certbot certonly \
--dns-cloudflare \
--dns-cloudflare-credentials ~/.cloudflare/cloudflare.ini \
--dns-cloudflare-propagation-seconds 60 \
-d home.example.com \
-d omv.home.example.com
Import LetsEncrypt Certificate To OpenMediaVault
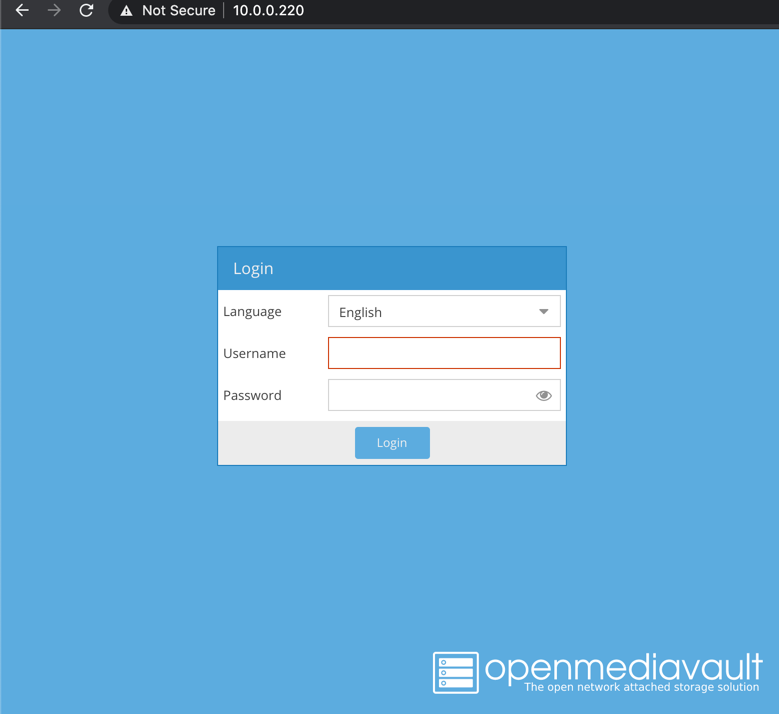
.:: Log-In to the OpenMediaVault Web UI ::.
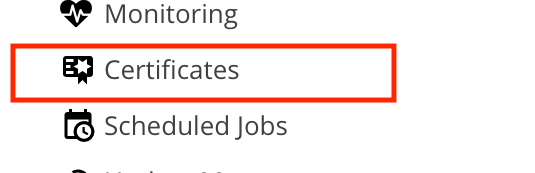
.:: Click Certificates ::.
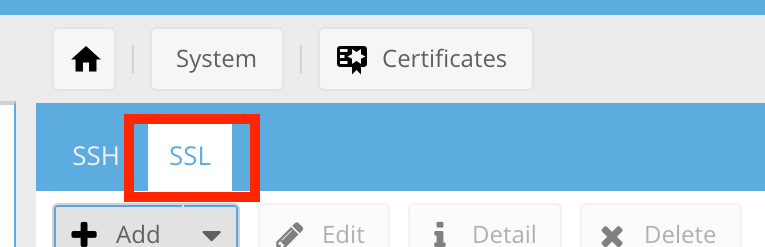
.:: Select the SSL Tab ::.
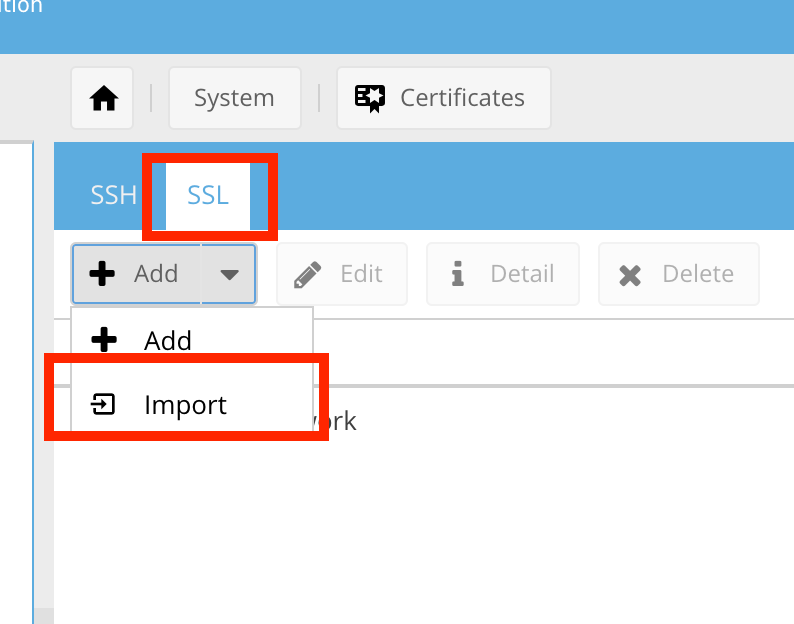
.:: Click the + Add Dropdown Button and Select Import ::.
.:: Complete Import Dialog and Click Save ::.

Create LetsEncrypt Auto-Renew Cron
.:: Create Shell Script To Import SSL After Update ::.
root@omv:~# mkdir -p /root/omvscript && cd /root/omvscript
root@omv:~# touch /root/omvscript/updatessl.sh
root@omv:~# chmod 700 /root/omvscript/updatessl.sh
root@omv:~# vim /root/omvscript/updatessl.sh
Shell Script:
#!/bin/bash

. /usr/share/openmediavault/scripts/helper-functions

certificateFile="/etc/letsencrypt/live/home.example.com/cert.pem"
privateKeyFile="/etc/letsencrypt/live/home.example.com/privkey.pem"
certUuid=$(omv-confdbadm read "conf.system.certificate.ssl" | jq -r '.[] | "\(.uuid)"')
comment=$(omv-confdbadm read "conf.system.certificate.ssl" | jq -r '.[] | "\(.comment)"')

function json_escape()
{
  echo -n "$1" | python -c 'import json,sys; print json.dumps(sys.stdin.read())'
}

# read and format cert
certkey=$(cat ${certificateFile})
certkey=$(json_escape "${certkey}")

# read and format private key
privkey=$(cat ${privateKeyFile})
privkey=$(json_escape "${privkey}")

# change config
rpcparams={"\"uuid\":\"${certUuid}\", \"certificate\":${certkey}, \"privatekey\":${privkey}, \"comment\":\"${comment}\""}
omv-rpc "CertificateMgmt" "set" "${rpcparams}"

# apply configuration changes
omv_exec_rpc "Config" "applyChanges" "{\"modules\":[\"certificatemgmt\"],\"force\":false}"
omv_exec_rpc "Config" "applyChanges" "{\"modules\":[],\"force\":false}"

exit 0
Execute Script & Import SSL
root@omv:~# /root/omvscript/updatessl.sh
.:: Create Cron To Renew and Import SSL ::.
root@omv:~# crontab -e
Add the following entry:
30 03 01 */3 * /usr/bin/certbot renew --quiet --post-hook "/root/omvscript/updatessl.sh" > /dev/null 2>&1
Executes: (At 03:30 AM, on day 01 of the month, every 3 months)
Enable SSL General Settings In OMV WebUI
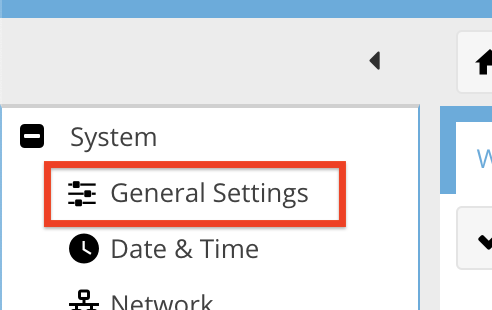
.:: Navigate to General Settings ::.
.:: Enable SSL/TLS and Choose LetsEncrypt Certificate ::.

IMPORTANT: DO NOT ENABLE FORCE SSL/TLS
You need to test your SSL setup first. If you enable this prematurely you may encounter a situation where your browser won’t let you visit the OMV Web UI and you’ll have to disable this via Terminal/SSH.
Summary
That’s it! We’re done check out the video if you’re more of the follow along type.
References:
- https://forum.openmediavault.org/index.php?thread/25140-ssl-certificate-update-commande-line/&postID=190039#post190039
- https://certbot.eff.org/lets-encrypt/debianbuster-other.html
- https://crontab.guru
- https://mangolassi.it/topic/18355/setup-letsencrypt-certbot-with-cloudflare-dns-authentication-ubuntu
- https://certbot.eff.org/docs/install.html#operating-system-packages
- https://certbot.eff.org/docs/using.html#dns-plugins
- https://certbot-dns-cloudflare.readthedocs.io/en/stable/
- https://r.je/guide-lets-encrypt-certificate-for-local-development
- https://gist.github.com/lookingcloudy/313357b9749e92b57308
- http://www.thekelleys.org.uk/dnsmasq/doc.html